How to a make a Halloween Apothecary Label
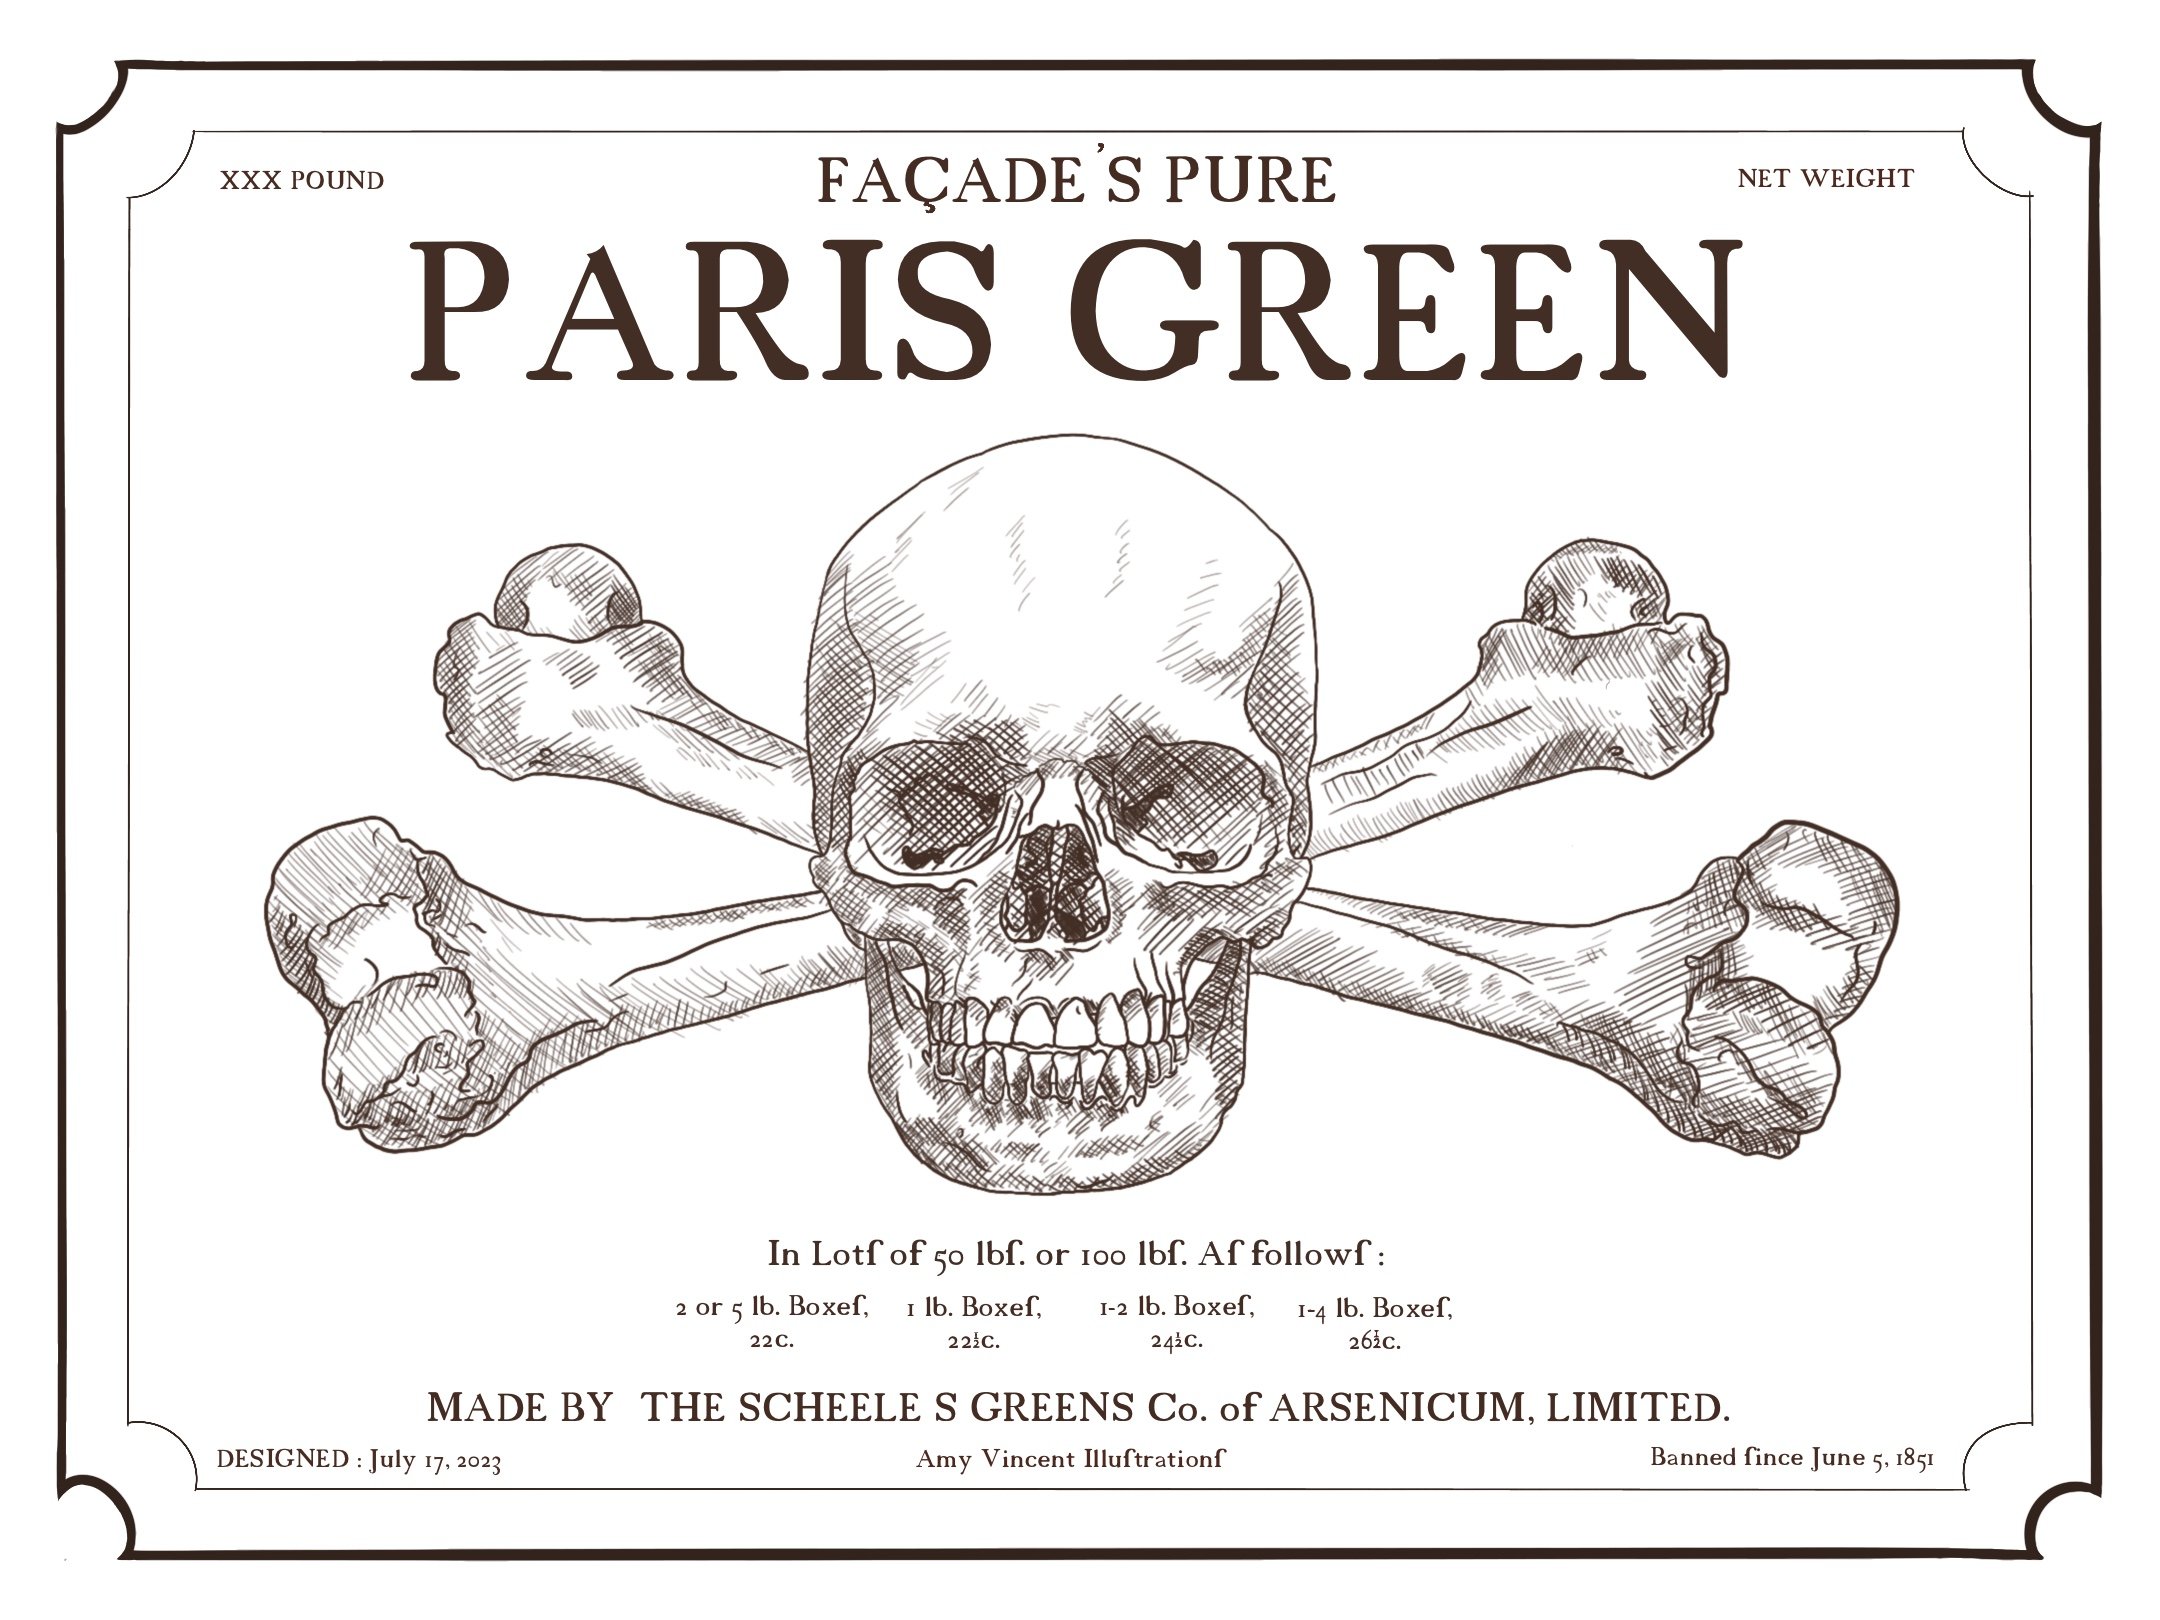
How to design the label in Procreate, cut out in Cricut OR print a design and apply to decor.
Whether you’re a witch or a potions master, you wouldn’t be complete without your Potions & Poisons. So, why not add this ‘special pigment’ to your collection this Halloween. From our free download to making one of your own, it’s the perfect spooky craft this fall for any age and creative skill level; plus, it’s super easy, fun, and adaptable.
**strictly for personal use only
Project Details:
Download is free + item of choice to decorate (black glass bottle - £2). Cricut used (white) vinyl, transfer tape + item to decorate (Black glass bottle £2 + HC transfer tape and HC white vinyl £4 each on sale = £10) Procreate initially £10 in App Store. Printable under 30 mins, Cricut and Procreate up to an hour. Download and Cricut is beginner and procreate is intermediate.
Illustrated & Produced by Amy-Louise Vincent. Artisan at Hobbycraft Croydon.
For more info on Amy and our Artisans, follow to our artisan page linked below: https://www.hobbycraft.co.uk/artisan/directory/
This project was made in mind for Hobbycraft. Please have a look via their Ideas page at https://www.hobbycraft.co.uk/ideas
YOU WILL NEED:
White Glossy Permanent Vinyl 12 x 48 inches : 6613721001 - HC White Glossy Permanent Vinyl 12 x 48 inches | Hobbycraft
Black Glass Bottle with Ribbon 20cm: 6630161000 - HC Black Glass Bottle with Ribbon 20cm | Hobbycraft
Transfer Tape 12 x 48 Inches: 6613831000 - HC Transfer Tape 12 x 48 inches | Hobbycraft
(‘Cricut Explore Air 2’ used in demo, now unavailable) Alternatively: Cricut Explore 3: 6556901000 - Cricut Explore 3 | Hobbycraft
Cricut Basic Pastel Tool Set 5 Pack: 6480731000 - Cricut Pastel Basic Toolset 5Pk | Hobbycraft
Cricut LightGrip Cutting Mat 12 x 12 inches OR Standard Grip Cutting Mat 12 x 12 inches: 6031051000 / 6606371000 - Cricut LightGrip Cutting Mat 12x12 inches | Hobbycraft / HC Standard Grip Cutting Mat 12x12 inches | Hobbycraft
Optional Glassware to Decorate | Hobbycraft
Designing the Label - ‘How to Design a Halloween ’Apothecary’ label In Procreate’
Please skip to instructions for ‘how to decorate a Halloween potion bottle’. OR ‘How to create a Halloween ‘Apothecary’ label in Cricut’
Step 1- Your first steps in designing in procreate, is making sure you have procreate downloaded and up to date on your device of choice. For this demo, we used an ipad. Open the app and start a new project by clicking on the ‘+’ button in the corner. It will ask you to set up your canvas size. We used the default screen size, but it can be ANY size.
Keep in mind, your DPI should be 300. You can change and customise this by clicking on the plus folder on the ‘+’ tab. 300 is a good quality standard for illustration work.
Step 2
Your next step is to set your drawing guide. This is optional but it will help Aline your text and will help when drawing lines. Click the tool symbol for ‘Actions’, click on ‘canvas’ and switch on ‘drawing guide’. You can change your grid size, spaces, and angle in ‘edit drawing guide’ option below.
Step 3
Clicking on the ‘Brush’ tool, will show your many options for drawing, painting, inking, texture etc.
For this demo, we used our ‘Script’ brush tool under, ‘Calligraphy’. The left side of your screen are two levels: the top controls the thickness & size. The lower level controls the flow/opacity.
Step 4
Using the drawing guides, create a simple border. You can make it as simple or as elegant as you like.
The trick to making it look older, change the corner and adding a second but thinner boarder can help.
Step 5
There are a few ways to add imagery to your work. You can import a JPEG or PNG by clicking ‘actions’, then ‘add’ and then ‘insert a photo’. You can keep the image as is, or using your layers you can trace over the image.
For this project, our third option is using our reference tool to draw from. Clicking on ‘action’ option, select ‘reference’, change to ‘image’ and select ‘import’.
Keep in mind, you want your drawing and future text on separate layers. You can control this via the ‘layer’ option; shown as two squares in the top left corner.
Step 6 : Your image can be sketch-like if you’re illustrating and/or printing. However, if you are planning on cutting on the Cricut, you want solid lines that are easy to cut. To add text, click on ‘action’, ‘add’, ‘add text’.
Type out what you would like your label to say. Doubled tapping on the iPad will show your text options for font, size etc. we used a font called ‘18century’ but you can use any font of choice.
Step 7 : By tapping on the items, you wish to move OR using the arrow at the top of the screen, you can adjust your positioning of text, images, and boarder.
If you’re just illustrating and/or printing, you can add different textures and colours to your work on new layers to your liking. We used some of our textured brushes to add ‘dirt’ to our coloured background and scuffing to the boarder and letters. If you’re using this for Cricut, you can jump straight to exporting.
Once you are happy, to export, click ‘actions’, ‘share’ and whatever option you need.
If you plan to use your layer in Cricut, export them individually as well by layers. You can turn layers off by unticking them.
To Print or illustration: JPEG and/or PDF OR Cricut: PNG or JPEG
Save your image/file in a safe and rememberable place, so it’s easy to find for your next steps.
How to Decorate a Halloween Potion Bottle
You have either downloaded our free template or created one of your own designs.
Step 1 : Your first step is to print your label to the size you want. Your print settings should allow you to custom the size or change to a default size close to you desired size.
Step 2 : Once your image is printed, you want to be very careful cutting your image out. If you’re under 10, maybe have a parent cut it out on your behalf.
Step 3 : Using an adhesive, evenly coat the back of your image without using too much and going as close to the edge as possible. Place your image in your desired placement and smooth out. Remove any extra glue before it dries with some tissue.
We would recommend PVA or double-sided tape for this, especially with children. If your over 18, an all-purpose glue, e.g. UHU, would be a better option but, note; they are solvent based.
Step 4 : Allow this to dry fully before decorating your jar however you like. We recommend ribbons or twines. You can also fill your jar/bottle with anything. We recommend bright green sand, green glitter, or even food-coloured icing sugar/flour. For this design its key to make sure its green; the rest is up to you.
Cricut: How to Make a Halloween ‘Apothacary’ label
You can either upload your own design to the canvas page on the Cricut app, or make it the app. This design for Cricut, is available and can be edited via the app, under ‘Amy Vincent’s profile.
Step 1
If you’re starting from scratch, click the ‘+’ button or ‘canvas’ to start a new project. Using the shapes tool, you can create a border. For this project, we uploaded our designed boarder by clicking ‘upload’ along the bottom and selecting our trim.
You can drag around and change the sizing to how you want and it’s placement on the mat.
You can also upload a png or jpeg of your image. Whether that’s a skull or another image you have found alone that’s fair use.
Step 2
If you’re not uploading your text, you can create this in the canvas.
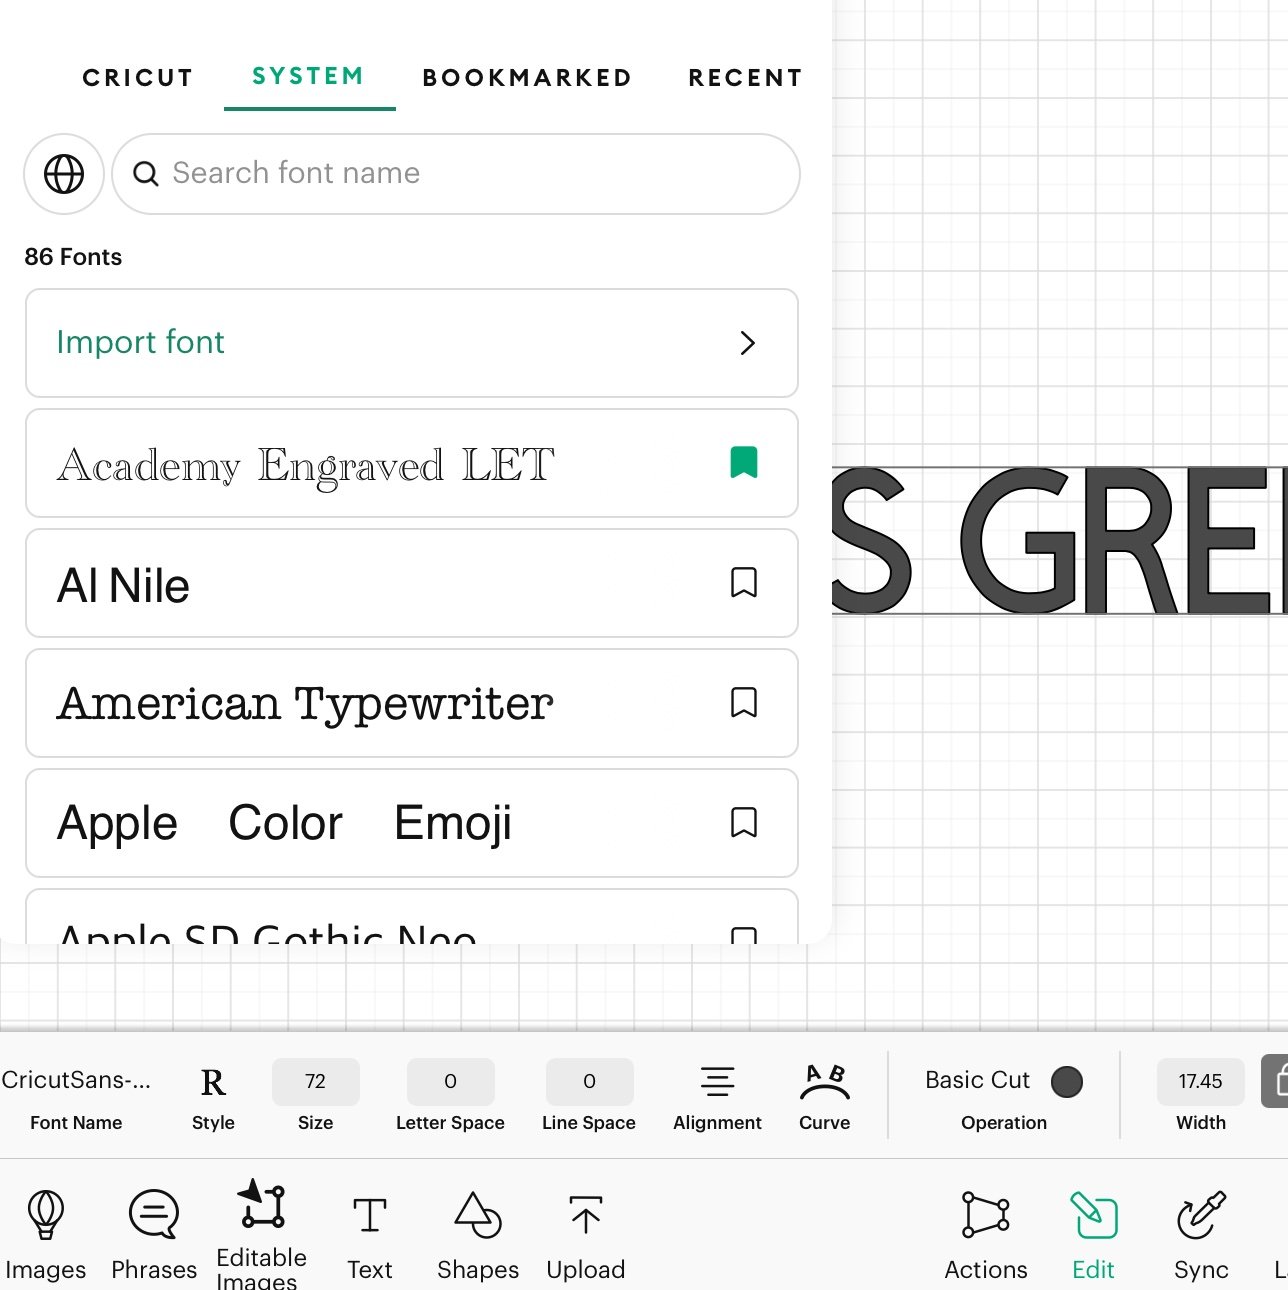
Click ‘text’ and type what you would like. When you finish, click off and select it again. This will select it to move and change size. If you select it, click ‘edit’ you can change the front and sizing etc much easier. Note: we downloaded the same font; you can use Cricut designed fonts or under ‘system’ your font saved and in word etc will appear. Make sure your font is ‘cut-able’. You need your font to be solid and not too small that the letters done cut out properly. (a mistake learnt in the making of this demo’
Once you’re happy you can start the cutting process. Make sure you’re always checking your blade before and end of projects in case you need a replacement before the next projects starts. If it’s not sharp enough, it will struggle to cut especially with small cuts.
Step 3
Now you’re ready to start using your machine.
Make sure your already set up. Clean your area beforehand especially if you own pets. Make sure there’s no dust or hair that can delay your process.
Cut the amount of vinyl you would need for the project and place onto your mat. If you have a newer model, like the explore 3 and maker 3, you can use the ‘Cricut smart vinyl’ with no mat.
Step 4
Your screen should appear as such. Make sure it fits nicely on your mat, adjust the size of your matt (we used 30x30 cm).
Select your material type and the blade you’re using. We used permanent vinyl and our fine-point blade, as we had a small label to make.
Step 5
Set up your mat and material ready to go. Press the back-and-forth arrow on the right side to load the matt.
Step 6
Double-check you have the correct material settings for the cut.
Step 7 : When you have doubled checked everything is set up and ready to go, press the ‘C’ button to start.
Final Step
Once complete, press the arrow buttons again to realise.
Using your tool, pic carefully the extra material around your design away. Note that they can still be stuck to the extra material or shift.
Once you have your design, using transfer tape, smooth over the top to pick up your design and apply to the surface you want it on.
Smooth out firmly, pushing any bubbles out then, peel the transfer tap away and tidy item.


